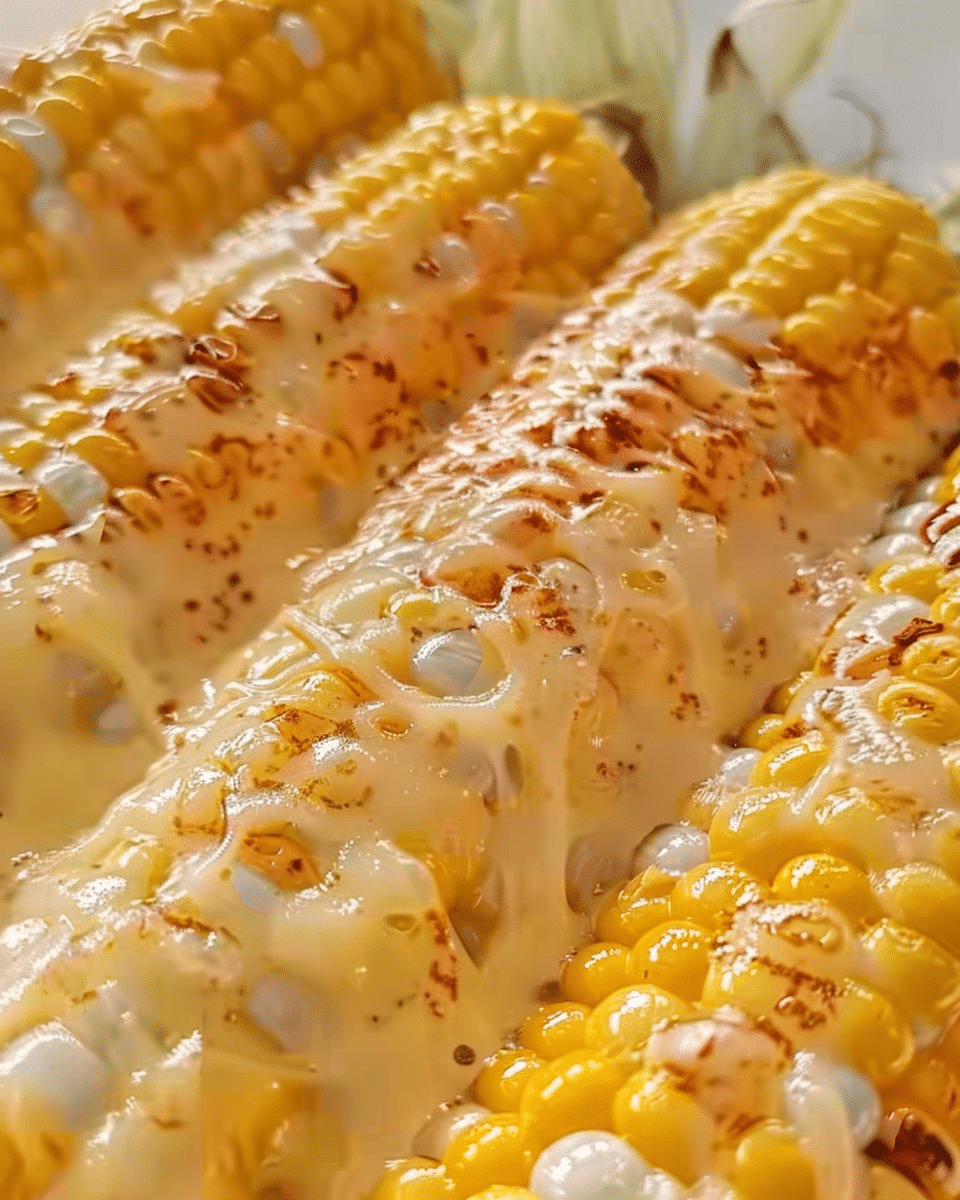
Cheesy Garlic Butter Corn on the Cob is one of those side dishes that’s simple to make but totally unforgettable. Fresh corn is slathered in a rich garlic butter, then rolled in melted cheese for a salty, savory finish. I love making this during grilling season or any time I want to upgrade basic corn into something bold and flavorful.
Why You’ll Love This Recipe
I love how this recipe turns ordinary corn into a mouthwatering, crowd-pleasing favorite. The garlic butter melts into every kernel, and the cheese adds richness and a touch of indulgence. It’s easy to prepare, endlessly customizable, and pairs perfectly with grilled meats, BBQ dishes, or even as a snack on its own. Whether I grill, roast, or boil the corn, it always turns out delicious.
Ingredients
(Here’s a tip: Check out the full list of ingredients and measurements in the recipe card below.)
-
fresh corn on the cob (husked)
-
unsalted butter
-
garlic (minced or grated)
-
salt
-
black pepper
-
grated Parmesan or cotija cheese
-
chopped parsley or cilantro (optional, for garnish)
-
optional: paprika or chili powder for a smoky kick
Directions
-
I cook the corn using my favorite method—boiling, roasting, or grilling—until it’s tender and lightly golden.
-
While the corn cooks, I melt the butter in a small saucepan over low heat and stir in the garlic. I let it simmer gently for 1–2 minutes to infuse the flavor, then season with salt and pepper.
-
Once the corn is ready, I brush it generously with the garlic butter while it’s still hot.
-
I immediately sprinkle the cheese over the buttered corn so it melts and sticks to every bite.
-
I garnish with chopped herbs and a pinch of paprika or chili powder if I want some extra flavor.
-
I serve it hot with napkins nearby—it gets messy in the best way.
Servings and timing
This recipe makes 4 ears of corn and takes about 10 minutes to prep and 10–15 minutes to cook, depending on the method. So I usually plan for around 20–25 minutes total.
Variations
Sometimes I add a squeeze of lime juice for a zesty touch. I’ve also used different cheeses like sharp cheddar, feta, or a Mexican blend. If I want a creamy twist, I mix some mayo into the garlic butter for a street corn-inspired flavor. And for extra spice, I top it with crushed red pepper flakes or a dash of hot sauce.
storage/reheating
I store leftover corn wrapped in foil or in an airtight container in the fridge for up to 3 days. To reheat, I warm it in the oven at 350°F or on the stovetop with a little extra butter. Microwaving works in a pinch, too, though the cheese might melt further into the kernels.
FAQs
Can I use frozen or canned corn?
Yes, I’ve used frozen corn cobs with great results. If using canned corn, I recommend sautéing the kernels with the garlic butter and cheese in a skillet instead.
What cheese works best?
I love using Parmesan for a salty bite, but cotija, feta, or even shredded cheddar all work well depending on the flavor I want.
Do I have to grill the corn?
Not at all. Boiling or oven-roasting works just as well. I grill when I want extra char and smokiness.
Can I make this ahead of time?
I prefer serving it fresh, but I’ve cooked the corn and made the garlic butter ahead. I just reheat both and assemble right before serving.
Is there a dairy-free version?
Yes, I use plant-based butter and skip the cheese or use a dairy-free alternative. It’s still super flavorful thanks to the garlic and herbs.
Conclusion
Cheesy Garlic Butter Corn on the Cob is a must-make when I want to turn a simple side into something crave-worthy. I love how quick it is to make and how every bite is buttery, garlicky, and cheesy in all the right ways. Whether I’m grilling out or adding it to a weekday dinner, this recipe always brings big flavor with very little effort.

Cheesy Garlic Butter Corn on the Cob
- Author: liinaa
- Prep Time: 10 minutes
- Cook Time: 15 minutes
- Total Time: 25 minutes
- Yield: 4 servings
- Category: Side Dish
- Method: Boiling, Roasting, or Grilling
- Cuisine: American
- Diet: Vegetarian
Description
Cheesy Garlic Butter Corn on the Cob is a flavorful and indulgent side dish featuring tender corn slathered in garlic-infused butter and rolled in melted cheese. Perfect for grilling season or weeknight dinners.
Ingredients
- 4 ears fresh corn on the cob, husked
- 4 tablespoons unsalted butter
- 3 cloves garlic, minced or grated
- 1/2 teaspoon salt
- 1/4 teaspoon black pepper
- 1/2 cup grated Parmesan or cotija cheese
- 2 tablespoons chopped parsley or cilantro (optional, for garnish)
- Optional: paprika or chili powder, to taste
Instructions
- Cook the corn by boiling, roasting, or grilling until tender and lightly golden.
- In a small saucepan, melt the butter over low heat. Stir in the garlic and simmer for 1–2 minutes to infuse the flavor. Season with salt and pepper.
- Brush the hot corn generously with the garlic butter.
- Sprinkle grated cheese over the buttered corn while still hot so it melts and adheres.
- Garnish with chopped parsley or cilantro and a pinch of paprika or chili powder, if using.
- Serve hot and enjoy immediately.
Notes
- Use lime juice for added zest.
- Try different cheeses like cheddar, feta, or a Mexican blend.
- For extra creaminess, mix mayo into the garlic butter.
- Store leftovers in the fridge for up to 3 days, wrapped or in an airtight container.
- Reheat in the oven, stovetop, or microwave with a bit of butter.
Nutrition
- Serving Size: 1 ear
- Calories: 220
- Sugar: 5g
- Sodium: 300mg
- Fat: 16g
- Saturated Fat: 9g
- Unsaturated Fat: 6g
- Trans Fat: 0g
- Carbohydrates: 17g
- Fiber: 2g
- Protein: 5g
- Cholesterol: 35mg

