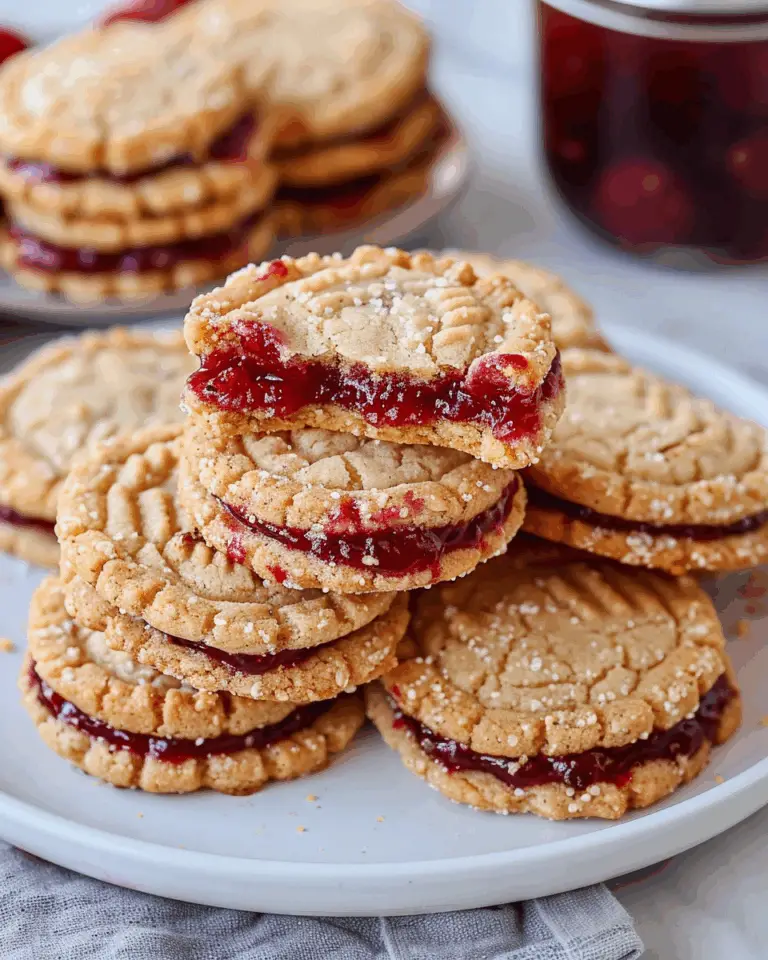
There’s something magical about making your own frozen treats, and this Homemade Fruit Popsicles Recipe is a perfect way to capture the vibrant flavors of fresh fruit in a cool, refreshing snack. These popsicles are bursting with natural sweetness and vivid colors, making them a fantastic choice for hot days or just when you want a guilt-free bite of happiness. Plus, the joy of crafting them yourself means you control every ingredient, guaranteeing the freshest taste and a fun kitchen adventure.
Ingredients You’ll Need

This Homemade Fruit Popsicles Recipe relies on a handful of simple, wholesome ingredients, each playing a vital role in balancing flavor, texture, and those beautiful popsicle colors. You don’t need anything fancy, just the best fresh fruits and a couple of helpers to bring it all together.
- Fresh fruit: Choose ripe, seasonal fruits like berries, mangoes, or peaches for natural sweetness and vibrant hues.
- Fruit juice or coconut water: Adds a juicy base that helps blend the fruit and keeps the popsicles icy yet smooth.
- Honey or maple syrup: Optional but perfect for enhancing sweetness naturally without overpowering the fruit flavors.
- Lemon or lime juice: Just a splash brightens the taste and balances the sweetness beautifully.
- Popsicle molds: Essential for shaping the popsicles — but you can also improvise with small cups and sticks if needed.
How to Make Homemade Fruit Popsicles Recipe
Step 1: Prepare Your Fruits
Start by washing and chopping your chosen fruits into small pieces. This ensures they blend smoothly and evenly distribute throughout your popsicles. If you love texture, leave some chunks in; if you prefer smooth popsicles, puree completely.
Step 2: Blend the Ingredients
Combine your chopped fruit, juice or coconut water, a touch of honey or maple syrup, and a squeeze of lemon or lime juice in a blender. Blend until silky smooth or keep it slightly chunky to your liking. Taste and adjust sweetness or citrus as you go — this part is the secret to perfect pops!
Step 3: Pour and Assemble
Carefully pour the mixture into your popsicle molds, leaving a little space at the top for expansion. If you’re adding fruit chunks, distribute them evenly beforehand. Insert the sticks and cover to prepare for freezing.
Step 4: Freeze Until Solid
Place the molds in your freezer and let them chill for at least 4-6 hours, or preferably overnight. This slow freeze helps develop that perfect firm texture without too much iciness.
How to Serve Homemade Fruit Popsicles Recipe

Garnishes
Serving your popsicles with fresh mint leaves or a sprinkle of shredded coconut can elevate the experience. These simple touches bring an extra layer of aroma, flavor, and visual appeal that guests will love.
Side Dishes
Pair these refreshing popsicles with light summer treats like yogurt parfaits, fresh fruit salads, or a crisp green salad. The popsicles work brilliantly as a sweet, cooling finish to any meal.
Creative Ways to Present
Try serving your popsicles in small glasses or jars with a few bright berries on top or even dipping half into melted dark chocolate and rolling in crushed nuts for dessert-style pops. It’s a playful way to impress and enjoy your Homemade Fruit Popsicles Recipe!
Make Ahead and Storage
Storing Leftovers
If you happen to have any popsicles leftover (though they rarely stick around), keep them tightly covered in the freezer to prevent freezer burn and preserve their fresh flavor and vibrant color.
Freezing
Always freeze your popsicles in an upright position in a covered container or mold to avoid absorbing unwanted tastes from your freezer. This Homemade Fruit Popsicles Recipe freezes beautifully and makes for a perfect ready-to-enjoy treat anytime.
Reheating
Since these are frozen treats, reheating isn’t quite applicable — instead, let them soften at room temperature for a few minutes before enjoying for easier biting and maximum flavor release.
FAQs
Can I use frozen fruit instead of fresh?
Absolutely! Frozen fruit can work wonderfully and sometimes even make your popsicles extra icy and refreshing. Just adjust the liquid amount since frozen fruits tend to release moisture during blending.
How long do homemade popsicles last?
Stored properly in the freezer, your popsicles will stay delicious and fresh for up to 2 months. Beyond that, they might start losing flavor and texture but should still be safe to eat.
Can I add yogurt or milk to this recipe?
Yes, adding yogurt or milk will create creamier popsicles. Just swap some of the fruit juice or water for your dairy or non-dairy alternatives for a fun twist on the classic fruit popsicle.
Do I need special molds for popsicles?
While molds make the process easier and give you that classic look, small paper cups with popsicle sticks work just as well in a pinch. Just be sure to wrap the cups in foil loosely to keep them upright while freezing.
How can I make layered popsicles?
Pour a layer of one fruit puree and freeze it partially before adding the next layer of a different flavor. Repeat until your molds are filled for beautiful, colorful stripes that taste as good as they look.
Final Thoughts
There’s truly nothing like the joy of making and enjoying your own Homemade Fruit Popsicles Recipe. Whether you’re cooling down on a sunny afternoon or sharing a playful treat with friends and family, these popsicles bring a splash of natural flavor and homemade fun that everyone will adore. Give it a try and watch how quickly these fruity delights become a favorite go-to snack!
Print
Homemade Fruit Popsicles Recipe
- Prep Time: 10 minutes
- Cook Time: 0 minutes
- Total Time: 4 hours 10 minutes
- Yield: 6-8 popsicles depending on mold size
- Category: Dessert
- Method: Freezing
- Cuisine: American
- Diet: Low Fat
Description
Discover how to make refreshing homemade fruit popsicles with simple, nutritious ingredients. This easy recipe lets you blend your favorite fresh fruits into a perfect frozen treat, ideal for cooling down on warm days while enjoying a wholesome snack free from artificial additives.
Ingredients
Fruits
- 2 cups mixed fresh fruits (such as strawberries, blueberries, mango, or kiwi), chopped
Liquid Base
- 1 cup 100% fruit juice (orange, apple, or pineapple)
- 1/4 cup water (optional, for thinner consistency)
Sweetener (Optional)
- 1–2 tablespoons honey or maple syrup (adjust to taste)
Instructions
- Prepare the Fruits: Wash and chop your chosen fresh fruits into small pieces to ensure they blend smoothly and fit well into the popsicle molds.
- Blend Ingredients: In a blender, combine the chopped fruits, fruit juice, and sweetener if using. Blend until smooth, adjusting consistency with water if you prefer a thinner texture.
- Pour into Molds: Pour the blended mixture evenly into popsicle molds, leaving a little space at the top for expansion during freezing.
- Insert Sticks and Freeze: Place the sticks into the molds and freeze for at least 4-6 hours, or until completely solid.
- Unmold and Serve: To remove the popsicles, briefly run warm water over the outside of the molds, then gently pull out each popsicle. Enjoy immediately or keep frozen for later.
Notes
- For a chunkier texture, blend fruits partially or add small fruit pieces into the molds before pouring the puree.
- Use natural fruit juices without added sugars to keep the popsicles healthy.
- Experiment with different fruits and flavor combinations for variety.
- These popsicles are great for kids and can be customized to accommodate dietary restrictions.